
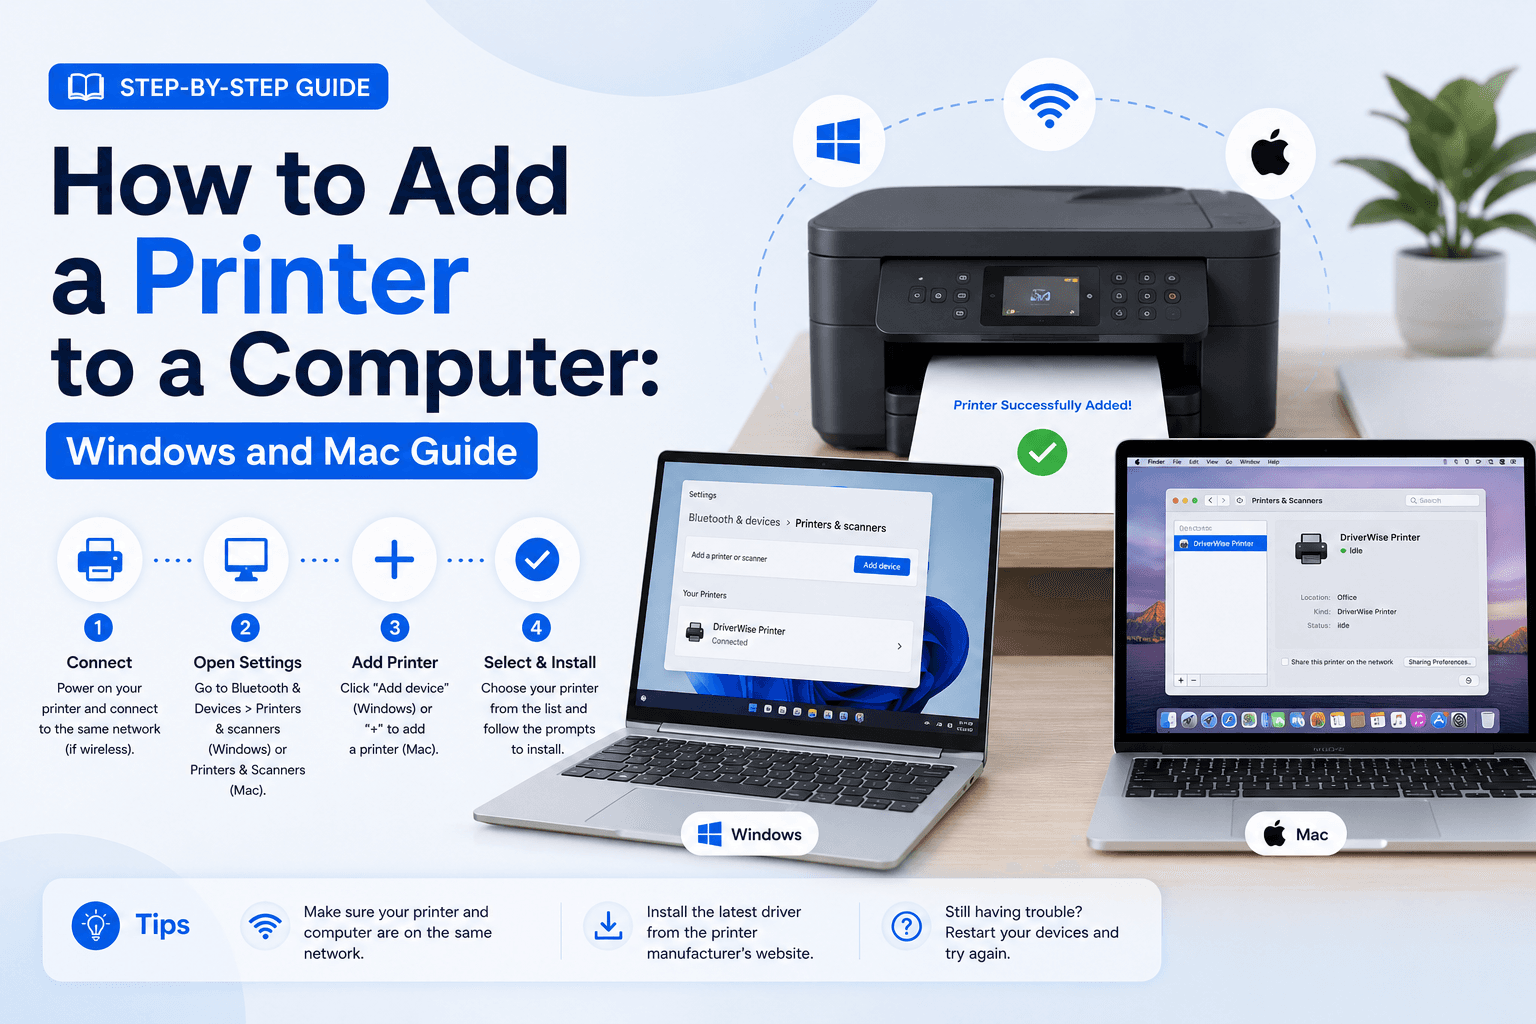
Whether you use Windows or Mac, this guide walks you through adding a printer step by step and fixing the most common detection issues.
Start with the basics before adding the printer
Make sure the printer is turned on, connected to the same Wi-Fi network or USB cable as your computer, and ready to print. If the printer is brand new, allow it a minute or two to finish its startup routine before trying to detect it.
Add a printer on Windows
On Windows, open Settings and go to Bluetooth & devices > Printers & scanners. Click Add device to let Windows search for nearby printers. If the printer does not appear, choose Add manually and enter the printer's IP address or select it from the list of shared devices.
Add a printer on Mac
On Mac, open System Settings and choose Printers & Scanners. Click the plus button to search for available printers. If your printer is connected through a network, you may need to select it from the list or add it using IP details if it is not detected automatically.
Install the right driver if needed
Some printers work with built-in system drivers, while others need the manufacturer’s official driver to unlock full features. If your printer is missing options such as duplex printing, scanning, or borderless pages, installing the driver from the maker's website is usually the best next step.
Set it as the default printer
Once the printer is added successfully, set it as your default printer if you use it regularly. This helps avoid confusion when multiple printers are available on the same computer. You can always change it later from the printer settings menu.
End of Article
Written and maintained by the PC Driver Info editorial team