
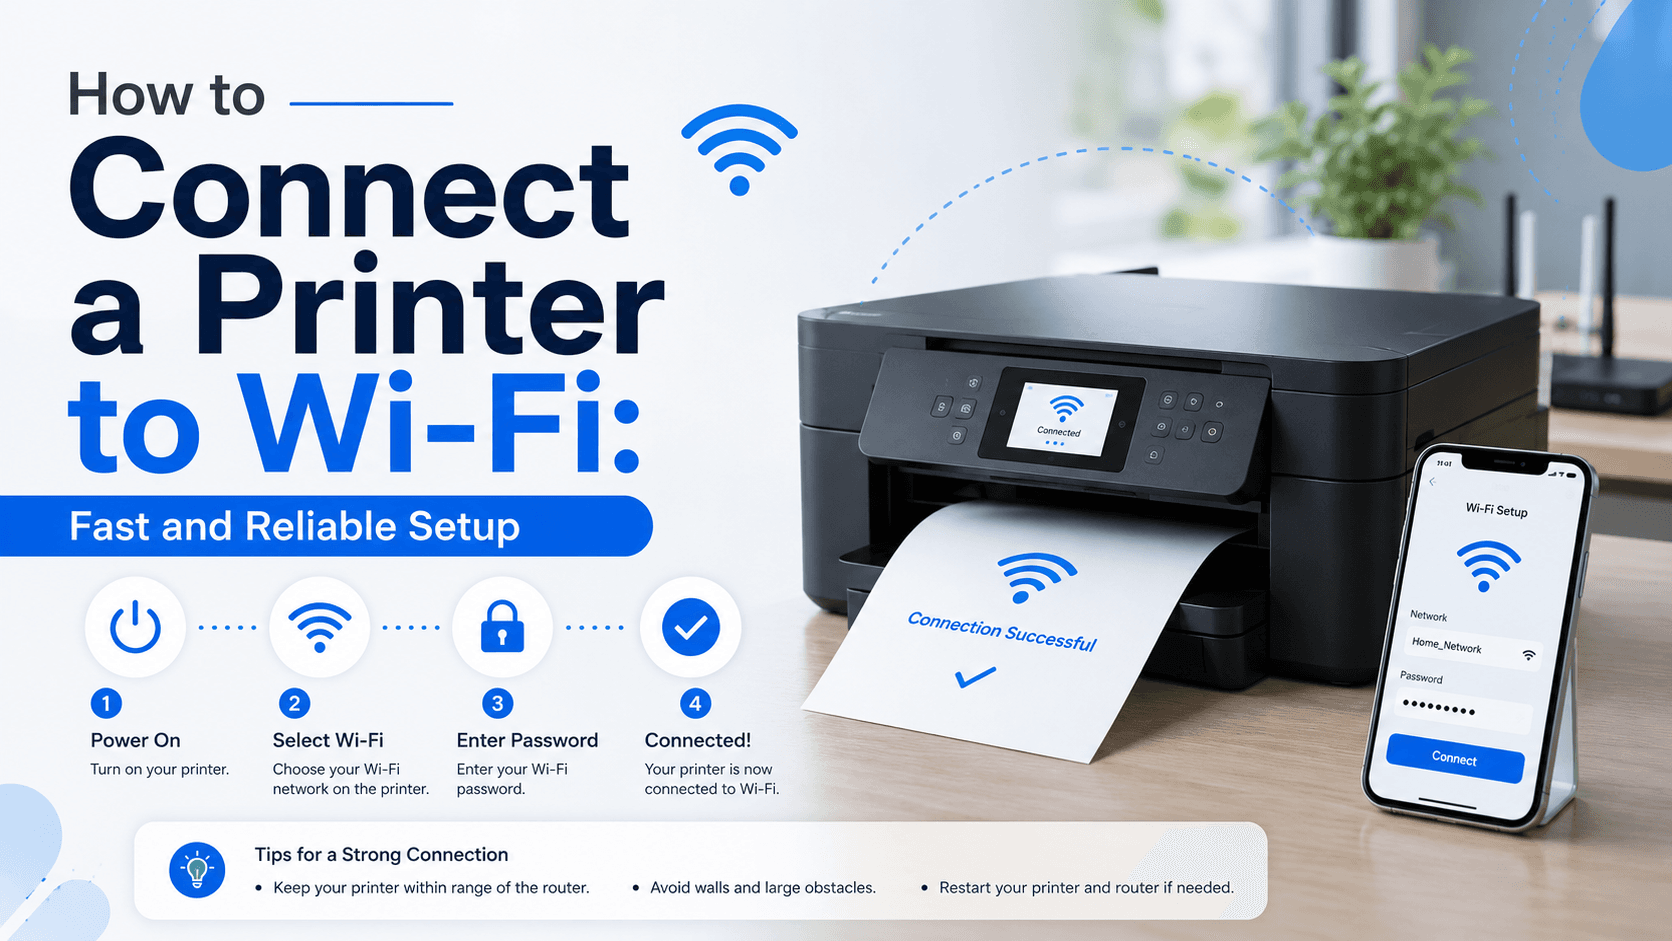
Follow this easy guide to connect your printer to Wi-Fi, set it up on your network, and start printing wirelessly without the usual frustration.
Confirm your printer supports wireless setup
Not every printer can connect to Wi-Fi, so the first step is to check your model's manual or the printer screen for wireless options. Most modern home and office printers include a Wi-Fi or wireless setup mode that lets them join your network directly.
Put the printer into Wi-Fi pairing mode
Open the printer's settings menu and look for Wireless Setup, Wi-Fi Setup, or Network Settings. Choose the option to connect to a new network, then follow the prompts to enter pairing mode. Some printers also support WPS, which lets you connect with the push of a button.
Select your Wi-Fi network
When the printer scans for nearby networks, select your Wi-Fi name and enter the password carefully. If the password is long or includes special characters, double-check it before submitting. A small typing mistake is one of the most common reasons a printer cannot join a wireless network.
Add the printer to your computer after it joins Wi-Fi
Once the printer is connected to the same Wi-Fi network as your computer, open your device's printer settings and add it again if it does not appear automatically. For Windows, use the Add device option in Printers & scanners; for Mac, use Printers & Scanners in System Settings.
Troubleshoot common wireless printer issues
If the printer still will not connect, move it closer to the router, check that your Wi-Fi is working on other devices, and restart the printer. You should also confirm that the router is not blocking the printer's connection and that the printer is not using a guest network with limited access.
End of Article
Written and maintained by the PC Driver Info editorial team